The Journal / Sewing tutorials
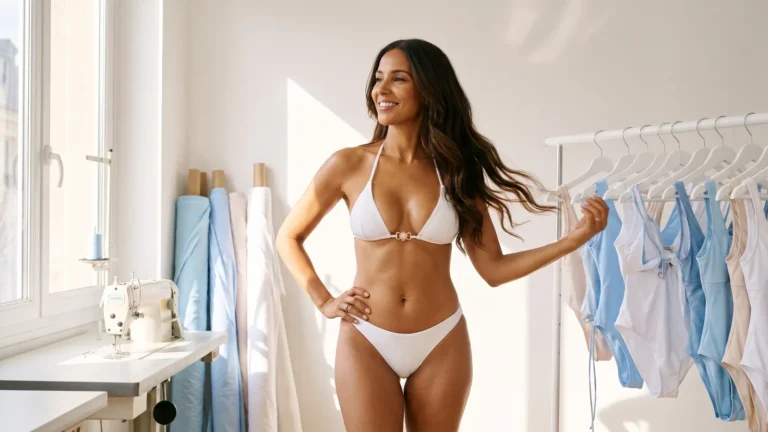
Making your own swimsuit: the studio's 8-step tutorial
Fabric, pattern, lining, elastic and finishing touches: the 8 steps from our studio to make a swimsuit that fits your body well.
22 November 2026 7 min read By the D'YRSAN workshop

Making your own swimsuit is entirely within your reach if you already know how to sew knit: you need a suitable stretch fabric, a lining, a special swim elastic and a machine that does the zigzag stitch. In eight steps, from pattern to final seam, you get a piece that fits the body, dries quickly and resists salt as well as chlorine.
In Asnières-sur-Seine, our workshop designs, develops and produces swimsuits for brands. This tutorial follows the steps applied to our prototypes, adapted to a domestic machine. November is also the ideal time: sewing your swimsuit off-season leaves time to make a test muslin, to fit and choose your materials with confidence.
The supplies needed to make your own swimsuit
Everything starts with the material. The fabric for making a swimsuit is a polyamide or polyester knit blended with elastane, often around 15 to 20% elastane, stretchy in both directions. You will find it among our swimwear fabrics, in solid, textured, embossed or jacquard. For a first model, prefer a matte solid such as matte green lycra : it cuts and sews without surprises.
Then plan a lining : a light polyamide-elastane knit, nude or matching, which prevents transparency once wet. Our lining fabrics are designed for this use. Add swimwear elastic of 6 to 10 mm, in rubber or chlorine-resistant covered elastane, never ordinary sewing elastic that loosens at the first swim.
A 4-thread serger is ideal, but a household machine is enough. Install a stretch needle or jersey in 75 or 80, polyester thread (cotton breaks under tension), and get a rotary cutter, cutting weights and clips. You will find fabrics and notions in our online haberdashery dedicated to swimsuit making.
Steps 1 and 2: measurements and swimsuit pattern
Step 1: take your measurements and test the stretch
The first rule for making your swimsuit: measure close to the body, without pulling tight. Note the bust circumference, the underbust, the waist and the hips. For a one-piece, add the vertical measurement that starts at the shoulder, passes through the crotch and returns to the starting point: it is what decides whether the swimsuit will pull on the shoulders or not.
Then test the fabric. Fold 10 cm of knit across the width and stretch them against a ruler without forcing: if they reach 15 cm, the stretch is 50%. Also observe the recovery: a good swimwear fabric returns immediately to its length. Note these figures, they guide all the pattern making.
Step 2: prepare the pattern
A swimsuit pattern is built from negative ease : it is smaller than the body, generally by 10 to 20% in width depending on the stretch. If you start from a commercial pattern, check the stretch percentage it was designed for. With a knit that is firmer or softer, correct it as in the workshop, by removing or adding width to the side seams.
Add seam allowances of 6 mm to 1 cm, transfer the notches and the grainline, then make a first test in a scrap of equivalent knit. This muslin lets you adjust the leg openings and the height of the crotch before starting on the good fabric.
Steps 3 and 4: cutting the fabric and the lining
Step 3: cut the main fabric
Cutting is the moment when you waste the most material when learning to make your swimsuit. Lay the fabric perfectly flat, without letting it hang off the edge of the table: a knit that pulls gets distorted and throws off the piece. Place the greater stretch around the body, so horizontally. Hold the pattern down with weights and cut with a rotary cutter on a mat.
On a jacquard, a print or a textured gingham, center the motif on the front and cut on the single layer to match both sides. Mark the right side with chalk or a small notch in the seam allowance: some knits look very similar from one side to the other.
Step 4: cut and prepare the lining
Cut the lining with the same pattern pieces. On a bikini bottom, you line at least the crotch; it is common to line the entire front, especially on light colors, which become transparent once wet. The top is lined entirely.
Then baste the lining to the wrong side of the fabric, edge to edge, a few millimeters from the edge, on the long straight stitch or by hand. The two layers will behave as one during assembly and will no longer slip under the presser foot.
Steps 5 and 6: assembly and swimwear elastic
Step 5: assemble the pieces
Sew right sides together on the serger, or on the narrow zigzag (width 1.5 to 2 mm, length 2.5 mm) then overlocked. For the bottom of a bottom, use the roll technique : the fabric back and the lining back sandwich the back, which encloses all the seam allowances inside.
Sew without ever pulling on the knit: let the feed dogs carry it. If the seam ripples, reduce the presser foot pressure or adjust the’differential drive of the overlocker.
Step 6: applying the elastic
This is the step that makes all the difference when you want to make a swimsuit that stays in place. Cut the elastic shorter than the edge to be covered, around 80 to 90% of its length, distributing the tension: almost nothing on the front of the legs, more under the buttocks and across the back.
Close the elastic into a ring, mark the quarters on the elastic and on the opening, then match the markings with pins. Sew the elastic on the wrong side, edge to edge, with a wide zigzag or with the three-point zigzag, stretching it just enough to reach each marking.
Steps 7 and 8: finishing, accessories and fitting
Step 7: turn, topstitch and accessorise
Fold the elastic inward to enclose it in the fabric, then topstitch three zigzag lines, or with a coverstitch if you have one, stretching slightly. The stitching must stretch as much as the elastic : a straight stitch will snap on the first pulling on.
For the top, slide in padding inserts between fabric and lining before closing. The adjustable straps pass through slides, and the two cups can be joined at the centre by a connector with a mother-of-pearl cabochon on a gold-tone setting, which instantly gives a couture look.
On the hips, a double gold-tone bar slider gracefully joins two straps. Always secure these pieces with a lined fabric loop sewn with a zigzag, never through the elastic alone, and make several backstitches : this is where the swimsuit works hardest.
Step 8: try on and check
The final step to make a swimsuit that lasts is the fitting: arms raised, crouching, bending forward. The suit should neither gape at the bust nor ride up over the buttocks. A leg that gapes calls for a shorter elastic at the back ; a red mark on the skin signals the opposite.
Finish the seam ends, trim the threads close and rinse in cold water. After each swim, a rinse with clean water and a flat drying, in the shade protect the elastane; avoid fabric softener and the tumble dryer.
Making your own swimsuit: what to remember
Three choices matter more than anything: a fabric with’known stretch, a pattern in negative ease and a special swim elastic applied with controlled tension. The rest, flat cutting, stretchy seams and securely fixed accessories, comes naturally with your first model.
Keep your corrected pattern: it will become the base for all your variations, a high-cut one-piece, tie-side bikini or bandeau top. To compose the next one, explore the knits, linings and finishes of our haberdashery of fabrics and swimwear supplies, or draw inspiration from our two-piece swimsuits to imagine your own lines.
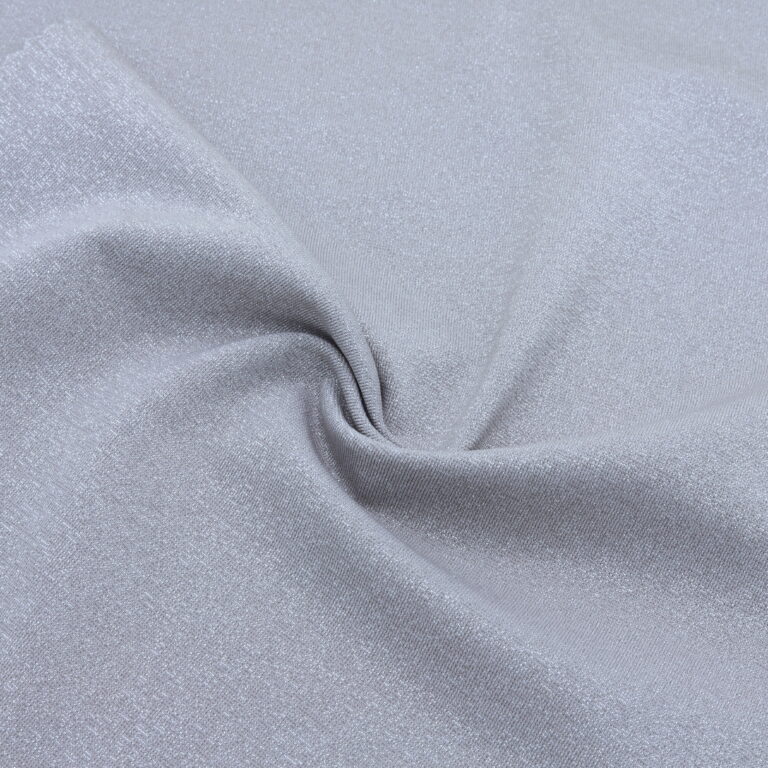 DY98556
Silver Grey Lurex Jacquard Fabric
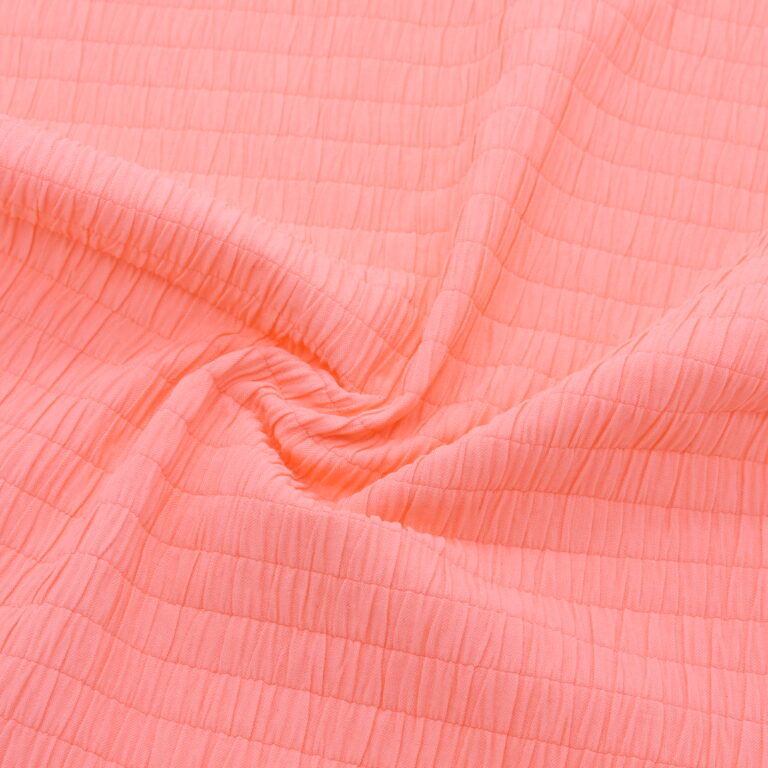 DY80173
Salmon checkered jacquard fabric
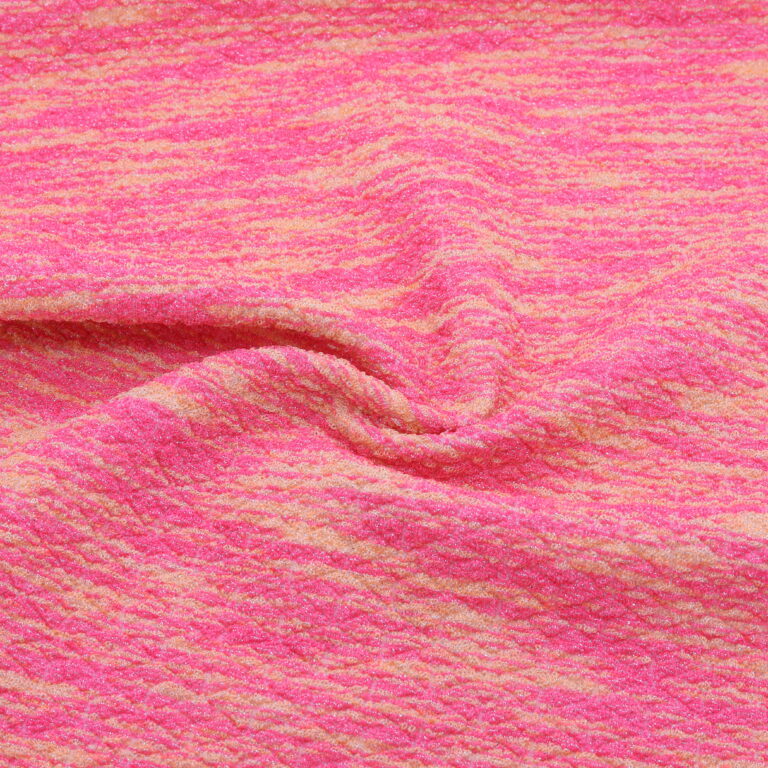 DY81113
Textured lurex swimsuit fabric, coral pink
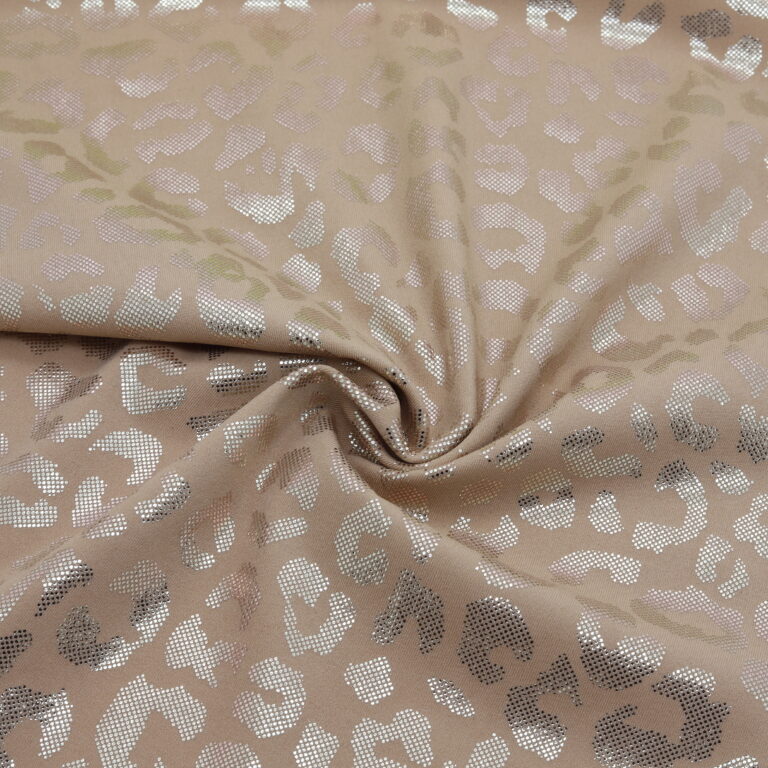 DY97827
Camel Gold Leopard Print Microfiber Fabric
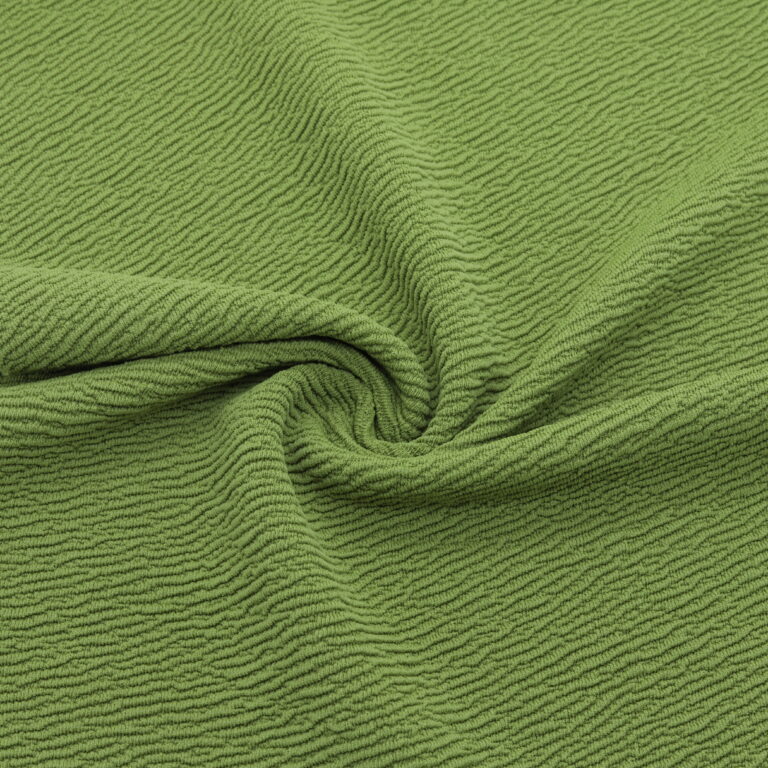 DY72527
Recycled textured jacquard fabric, olive green
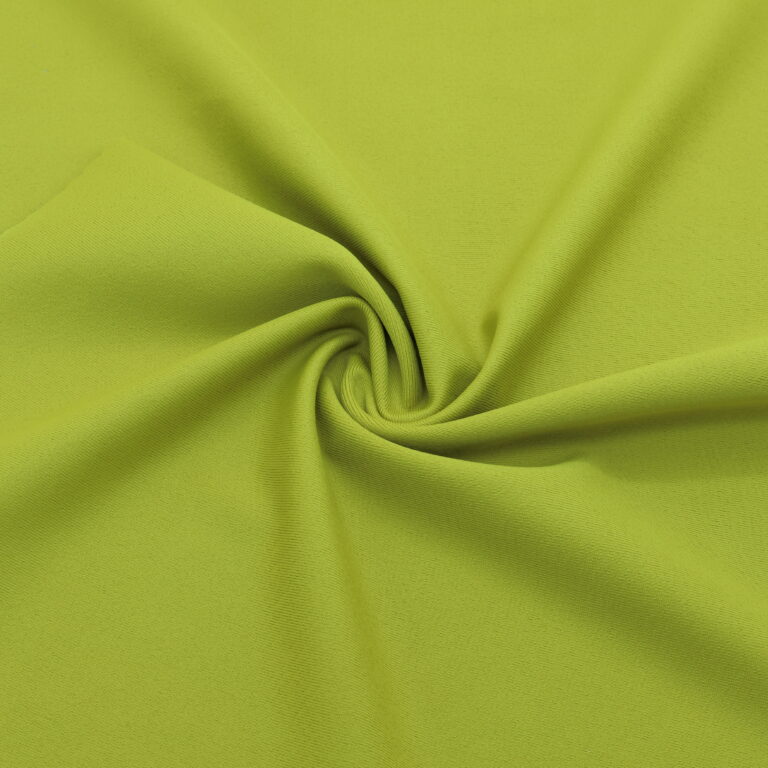 DY99026
Matte green lycra fabric
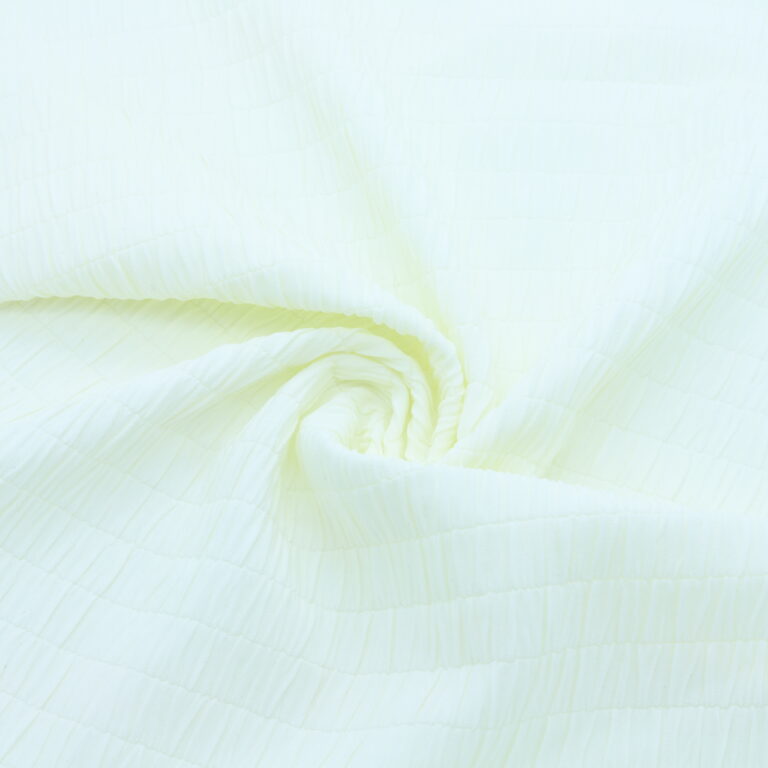 DY72471
White ribbed microfiber fabric
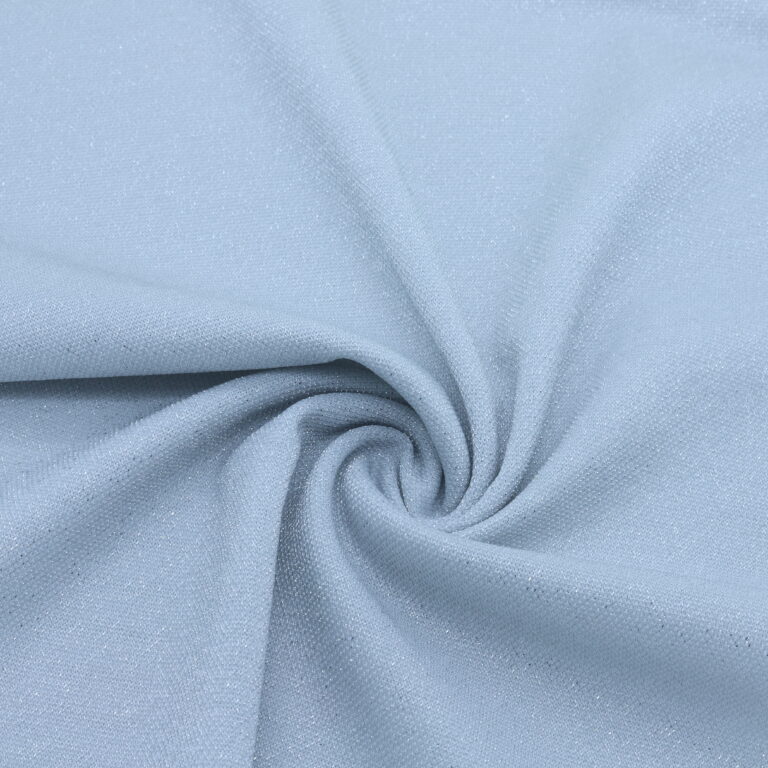 DY80119
Sky blue lurex jacquard fabric
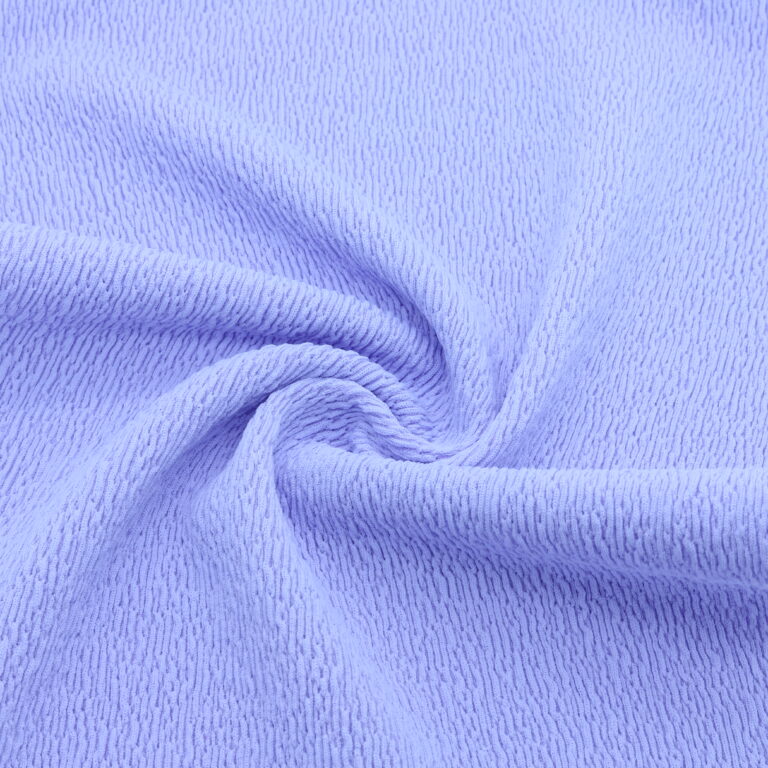 DY81074
Textured Lilac Swimwear Fabric
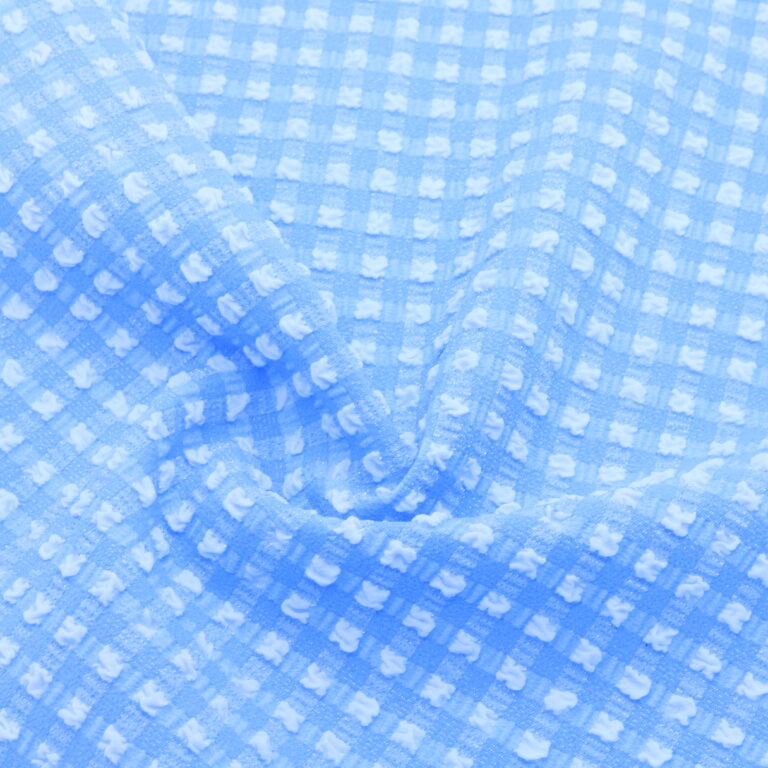 DY81105
Silver lurex embossed gingham swimsuit fabric, sky blue
YRSAN's haberdashery : fabrics by the meter and supplies selected by the workshop. Discover the haberdashery
Written at the D'YRSAN workshop in Asnières-sur-Seine, where we develop and produce our clients' collections: pattern making, prototyping, industrialization, small-batch production.
Tell us about your project→